Monday, March 11, 2013

A real quilt on the longarm!

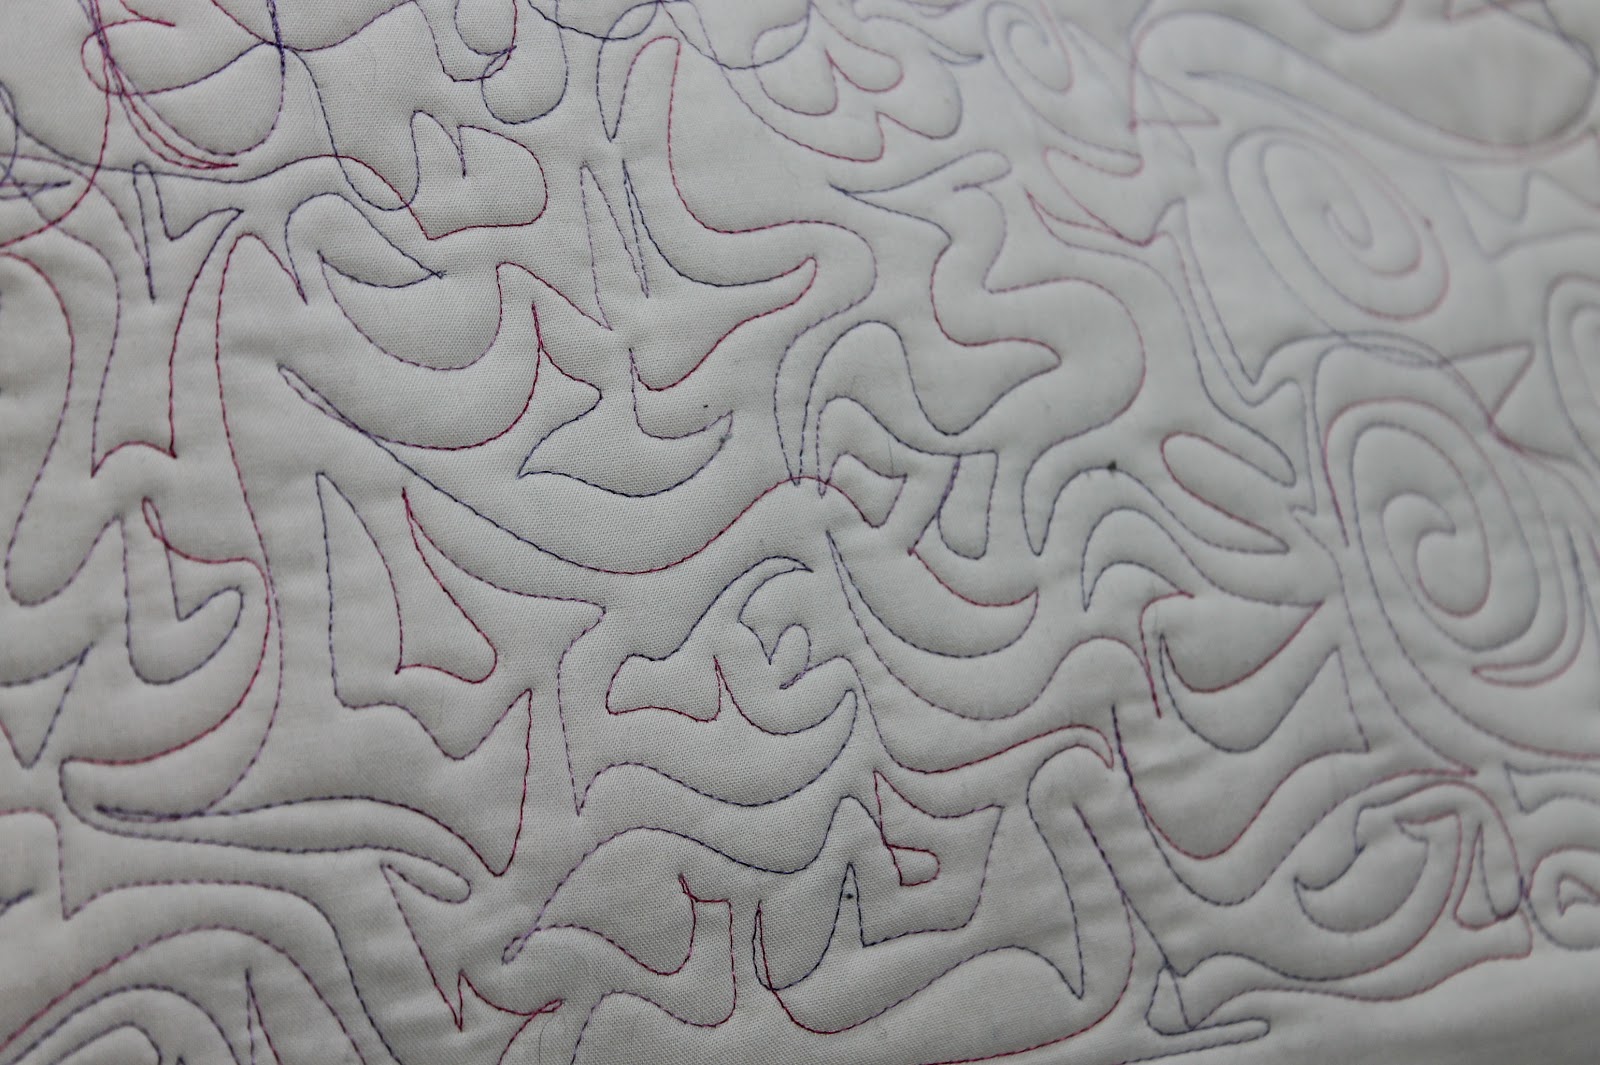
I'm bold and daring, maybe a little stupid to do this but... I put a real quilt on the longarm and learned to do a pantograph! 


I put the one with the minkee backing fabric on.   gulp.  nothing like diving into deep waters, right? 

I did the first pass on the pantograph no problem.


2nd pass in, I paused for a minute to check my stitches and then continued stitching - BACKWARDS. gah.  At least it was only a few innches worth of a pass I had to frog.   (Frog-  means to rip out the stitches...rip it rip it!)


One thing I need to figure out -  my laser light has a double reflection and this can get confusing when I'm trying to follow the line.  I learned that moving a bit faster makes a smoother line for me....


So far so good.  One more pass until I finish this quilt.   See how the minkee looks on the back, isn't it nice?   
A few hiccups here and there, but I'm figuring it out!

One thing I'm learning about my machine -  controls on the back of the machine are backwards to the front of the machine.   brainfart happens especially when you haven't eaten lunch.

My thread cutter only works about 25% of the time.   ?????? 

They should include ear protection for your ears.  I have a feeling over time, this noise could damage my ears.   I don't see myself pantographing forever, but with one ear so close to the machine, I'm not going to risk it.  


I'm still practicing on my whiteboard every day.   What I have learned is that if I pick a shape/design and practice that ONLY,  I develop better muscle memory than if I do random stuff and my shapes become better and more consistent.    


Just including a few of my sketches to show my progress over time...I'm sure I'll look back at these in a year and be embarassed that I posted them!  

Wednesday, March 06, 2013

Spools of Colour

Is it possible that my addiction to solid colour fabrics could easily transfer over to threads?  

Look at this gorgeous pack of thread I bought from bobbincentral.com  
This is Glide thread, which has come highly praised by many longarm quilters from what I read.  I also received a colour card - and it's actual thread wrapped samples too, so no distortion in colour. 

Three other brands I want to try out -  the new Aurifil longarm thread, Superior and Metro/Sigma.  
oh this could be trouble...


Only thing I realized.... I didn't get any grey.  And I have a King size top to quilt soon with grey thread.  sigh. 

Monday, March 04, 2013

Something new...

A friend of a coworker found out I make quilts and has commissioned me to make one for her.  These are the fabrics she's chosen:
Aviary2 


It will be a kingsized very basic square/rectangle patchwork design.   I gave her a variety of designs, but she just wanted a simple mix of these fabrics.   They are beautiful.

Quilt from hell is almost complete.  I need more fabric for the border (underestimated).  It's coming along nicely, and much better than my first 3 attempts.   Let me say, I love the fabrics, but those preprinted panels really feel restricting in the design process.  It will look lovely in the end, but I still get to call it what I want.   I could have stuck with my original design and be done, but often I complicate things until it looks just right. 
 Millie and I have had time together daily, about an hour at a time.  I needed to get quilt from hell completed before I felt like I could really explore.   :-)


Wednesday, February 27, 2013

Practice in large scale...


Aside from learning my machine and sketching in a small notebook,  I recently purchased a whiteboard to practice larger scale movements.  I highly recommend it.

Monday, February 25, 2013

Longarm Quilting Machine - assembly complete!

 A pictorial tour of the 4 hour assembly process of my new APQS Millennium!   I could have paid someone to come out and do it for me, but it was important for me to know the ins and outs of this setup...plus,  500 dollars can buy a lot of thread! ;-)  

 We did our setup in two sessions.

Session 1 after dinner:  
The big rail was mounted to the table legs. easy.

 Trent tightening everything up...

I got a hydraulic lift for the table -  being 6' tall, I thought it might help with posture and position over time.  Here I'm unravelling the lifts and getting them ready.


Figuring out how the brackets fit onto the lifts....

My amazing helper #2 putting the brackets on the lifts.   

Putting the crossbar connection support for the hydraulic motor, only to find out I put it on backwards.  The power box was different than in the manual diagrams and therefore we had to figure this out a bit on our own.   

Helper #1 and #2  tightening the hydraulic motor....

Me trying to figure out if we mounted them correctly -  the lift works, but I wished it would lift more..
Hydraulic lift installation - moderate difficulty. 
By this point, we were 'done' for the night.

So tired!!!
I'm still a bit unsure if I can adjust the hydraulic lift to go higher somehow, but in time I will figure it out.   I assembled it with my table legs adjusted in a comfortable 'base' position -  but the hydraulic lift has to lift that extra 5", but also loses that extra 5"to lift higher.   Not sure if that makes sense?  Maybe there is a way to mount it differently? 
 So my lift only really lifts a couple of inches instead of a lot of inches.  

Session 2:  a morning fresh start:

Helper #2 greeted me this morning with:  are we ready to setup Millie now?  Coffee first, buddy!

Felt pads on the crossbars to lay the pantograph table..very easy.

 Poser pretending like he is so accurate and careful in laying down the table. 

Helper #2 putting Millie's handles on...easy

 Assembling Millie's carriage - easy


 She's on the rails, and she moves and glides! - easy - you need two people to make sure the wheels all align when you slide her onto the carriage


 Trent doing some kind of connection. There were plugs to plug in and ground wires to mount. -easy

 Two of the leader bars have been put into place.  These were really easy to do except for silly errors.

We were cracking jokes at this point about the poles - there's a 'male' end and a 'female end to the poles, and sometimes we had to swing the 12 ft poles all the way around because we had the wrong end....so the jokes started flying.  You know the point you start getting giddy because you're tired and ready to be done?

 The brake was installed...

 Reading how to install the fabric advance.  This part we forgot to take photos of.  It was relatively easy.  The motor fits onto the 'male end' of the leader pole.   The only difficulty we came up with was the actual connection couldn't be tightened because the motor was in an awkward position.  Trent had the brainy idea to plug the motor in and advance the mechanism so it could fit properly.

 Loading a practice quilt.  Loaded it wrong...ha!
 I love my Millie!
I love my man...we did it!

Friday, February 22, 2013

Longarm Quilting Machine Unpacking

She came with a bow!   I don't want to take it off, ever!  
First thing I unpacked:
Update on my boxes: -  it looks so far like there is no visible damage to my items.  I did however, receive an extra table leg that was to be delivered to someone else.   I didn't realize it until I got the call from the freight company.   
My dealer Matt Sparrow -  is such a gem. I emailed him about the condition of the shipment and he called me immediately and talked me through it. 

The 8 boxes of items were not difficult to move. The 12 foot pole boxes were definitely heavy, and a two person job.   Before you even consider buying a longarm quilting machine - make sure it will fit into your space...by that I mean make sure you can get the 12 foot poles around stairs, corners, etc.   A 2x4 piece of lumber was recommended to test out if they will fit. 
Confession:  I cheated and used 3 hockey sticks taped together.   

Unpacking the boxes was fun.  Kind of like Christmas actually.   


I was supplied with a selection of threads of Aurifil,  Omni, Filtec, Superior, Signature and KingTut.
(I want to get my hands on some of the new Aurifil longarm quilting thread that was announced)  
I received two pantographs (12 foot long sheets of paper with an allover cool design on it.  You basically trace the design with a laser pen and the machine stitches it for you)
One thing I was very happy to receive was a sampler guide of batting.   It is only from one company (Pellon Legacy), but it is great to have a feel for what each type is like.  There's 100% cotton with and without scrim, wool, poly, rayon, soy and the 80/20 blends.   Now I know what kind to order without guessing! 


 Also received these cute stickie note pads.  I'm going to wallpaper my studio with them.

I was able to assemble not much on my own yesterday.  Poles and rails are heavy, but I did get a start on two things.

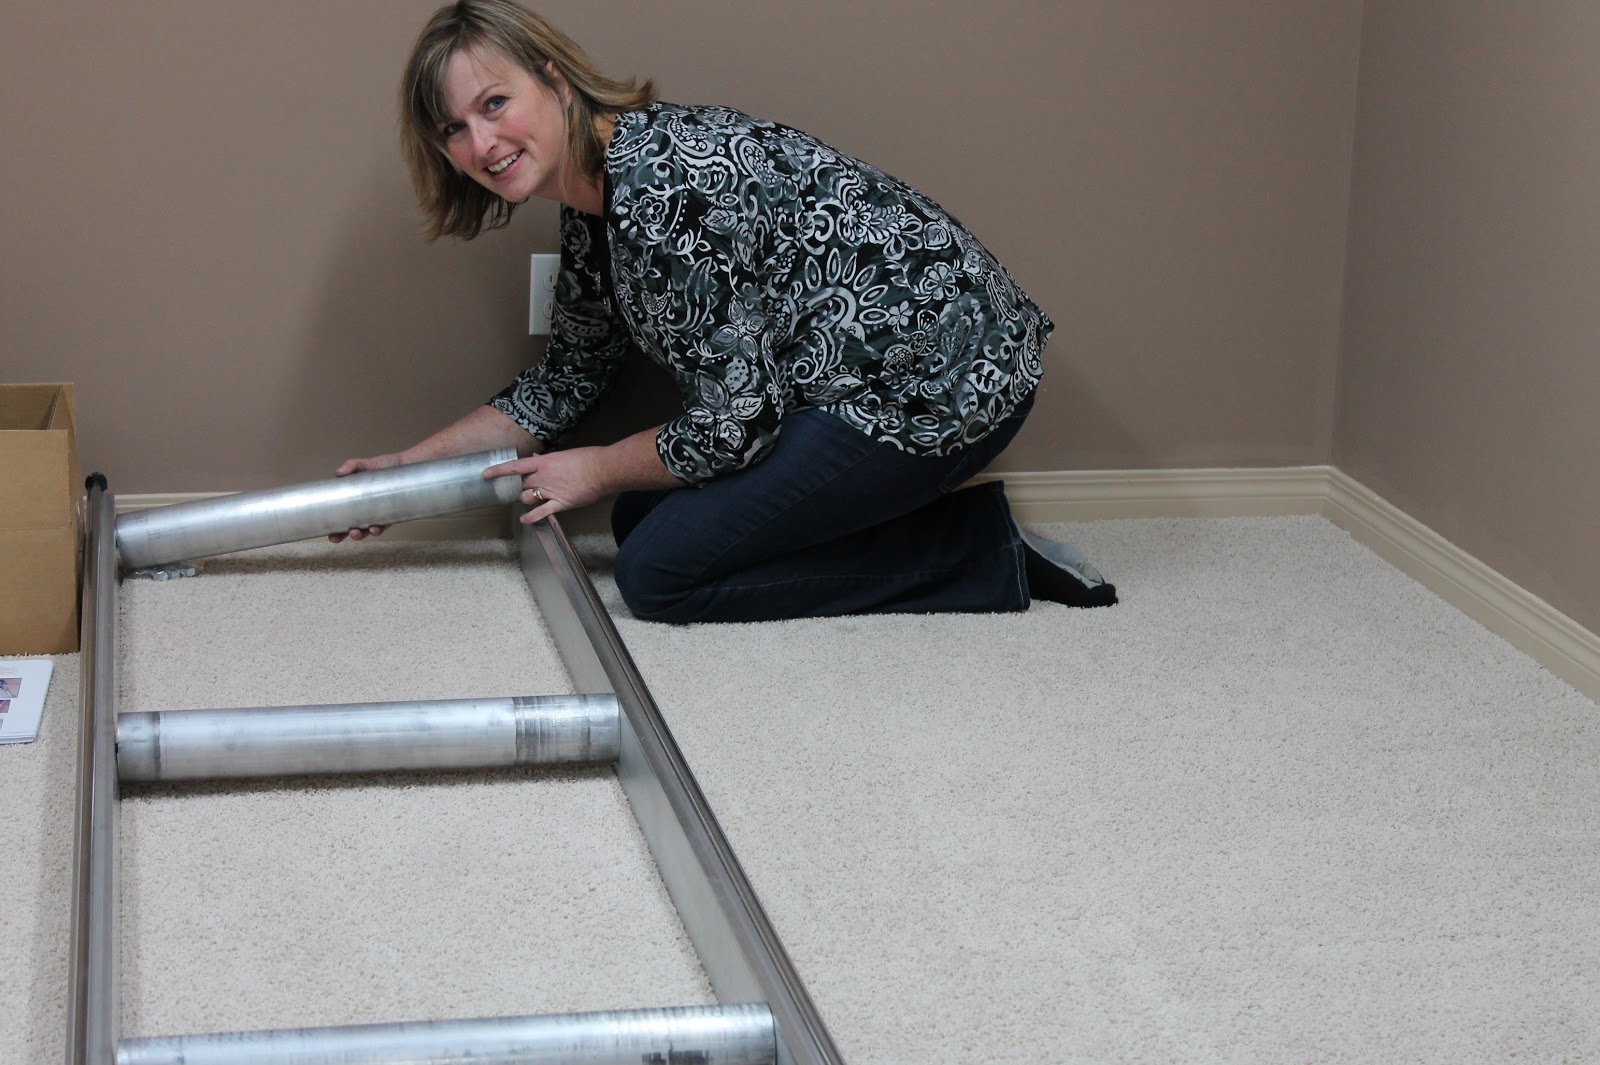
Here I am putting the cross bars in.  Yes, I put the damn timer on the camera and ran over to the space, tripping on my way....and still managed to smile and pose.  LOL


The instruction manual is NOT LIKE IKEA.  CHEER!!!  It is so thorough and detailed and dare I say easy.   But I only did a few things so far. 


The manual should state that you need lots of soap and or wipes in between steps.  :-) These are my hands after putting ONE crossbar on.  please don't judge my dry cracked hands...I live in such a dry place!


The next thing I was able to do was adjust the height of my table legs....that was easy.  

This next part looked easy, but when the instructions say 'may need a helper', they are right.  This is where I left off.  The ladder/rails are super heavy. See?  Not much done.

Also,  if you notice, the photos in my studio are all light and bright.  I had daylight fluorescent fixtures put in and I cannot believe how awesome it is down there now!   All of the photos were taken without a flash....awesomeness.

The rest of the setup will be assembled tonight and tomorrow with my husband.  I'm sure we'll have lots of laughs and snarky remarks as we put this thing together.   We never fight when we do this stuff as many people we know do.   We just resign ourselves to being feeble at it and laugh our way through it.  :-)  I love him for that.

I'm working on a quilt right now that I detest.  I've ripped the layout apart twice now, with hopes that this next layout will look better.  Thank god for the design wall to help me through it.  I'm just not into the colours or fabrics so it's making it a bit tough.  I want to share it with you for feedback and suggestions, but I have a feeling the recipient reads this blog on occasion.  


Wednesday, February 20, 2013

LongArm Quilting Machine Delivery


This is a pretty boring post - but for anyone who ever purchases an APQS longarm  and anticipates how much, how large the delivery...here goes.  

MILLIE IS HERE! SHE'S HERE!!!  SHE'S REALLY REALLY HERE!!!

That being said....

It was uneventful.  It was deflating.   I pictured this large semi truck coming up the street.  The shipping email said expect a 24-48 foot tractor trailer!  Traffic being tied up, neighbours looking out their windows,  cars being scraped from the wide corner turns...
 ya.  Nope. 

The shipping notice you get says 8 boxes.   So I'm envisioning PALLETS of goods arriving on my doorstep.  How on earth is it going to fit in my garage!!!???

This is the truck that came to my house:

See?  Deflating.

My delivery was the only one inside the truck.  The boxes must have shifted and they were kind of everywhere in the back of the truck.  eep.

 Alas, this white shining box was coming out -   see how it says Gentle Hands?   not so much when you look at the rest of the photos.  :(    

 The box is awesome though - it says "Contents may cause excessive hugging, squealing, jumping and fist pumping"
 I really did feel that way, but my delivery driver was kind of straight laced and just didn't understand my need to photograph the event.   HI CHRIS THE DELIVERY DRIVER!!!  I bet he went home and told his friends that quilters are young and wacko.  


Here's the lot of boxes -  definitely not as cumbersome as I imagined.  The 12 foot pole boxes on the floor are heavy though!  Everything else appears easy to move.   Notice the boxes with FRAGILE? and the arrows in a certain direction.  ya.  I don't think those were regarded.  Maybe they read them as FRAH-JEE-LAY in Italian or something...


Here are a few worrisome photos -  the boxes were damaged and opened.  This one had a part breaking through the side of the box and exposed.  I hope it isn't bent.  :(


You can see how the boxes are opened and in all directions.  Hopefully there isn't anything to worry about.

The 12 foot table pole boxes, as sturdy as they are got beaten up really well too.  


 These are the two that have me worried the most - Millie's box was torn and punctured in quite a few places on one side of her box.   Hopefully she's well insulated and has mega protection inside.


I'll let you know how unpacking and assembling goes.   I'm really hoping that the packaging has protected Millie and all parts are in fine form.   If you only knew how much I  spent for shipping this setup  - you too would be a little unsettled to receive your package this way.  

JUST A NOTE:  I DON'T THINK THIS REALLY HAS ANYTHING TO DO WITH APQS, BUT MORE WITH THE FREIGHT TRANSPORT/DELIVERY PROCESS.In no way am I trying to convey a bad message about apqs - they have been a phenomenal team to work with so far!

I'm excited to get her into my basement and set up.   From the size of the shipment, I think it will be a little easier than I thought.   ( I really did think I was receiving pallets, and I was researching ways to reuse wooden pallets in my garden.)  
My electrician is coming this afternoon to put lighting in my studio, hooray...and then I can set my girl up!

I'll be sure to document that as well.  Hope you don't mind.   There just were no posts about this whole process, so I want others to be able to see what it is all about!


IT'S COMING!

It's on it's way! It's coming!  It's arriving in less than an hour!
I have my cameras ready!

The freight truck will think I'm some whacko  paprazzi'ing their delivery!!!!

Sunday, February 17, 2013

Design Wall - my experience

So, design wall done.   Used the insulation board technique which is posted everywhere.    
Bought 3 - 24x96 x 1" insulation boards and covered them with batting.   DUCT TAPE did not adhere to my insulation boards.   Packing tape did not either.   I staple gunned the batting to the boards and that seemed to do the trick.   
COMMAND STRIPS DID NOT WORK.  I tried 4,  then I tried 12 in a row.   The big strong 5 pound ones.  Nadda. 
Then I tried nailing nails into the wall and laying the board onto them - like sticking the styrofoam into the nails.  Nada.  Slid right down and ripped the styrofoam.
Then finally,  I nailed the nails into the wall, through the boards.  That seemed to do the trick,  we'll see if they're still hanging in a few hours.  


I bought these two Ikea dressers and we put them together back to back for a cutting table.  It is a perfect height!


Next up is putting in fluorescent lighting -  as you can see, I really need light down there.
My machine arrives next week sometime!

Friday, February 15, 2013

Mutha Stitcha - the name game


One of the hardest decisions for me to make in this whole process has been coming up with a name for my business.     I have the 'urban' series, 'stitch' series 'edge series, 'thoughts' series...it goes on.  And then came the outrageous...and I'm telling you.  I actually like one of them.  but no...not enough for a business name. LOL

Mutha Stitcha.

Mutha flocker

Bitchin Stitchn

Stiches, Bitches!

The Stitch Bitch

Flock You Stitches

Come on...it's Friday night,  grab your wine, your scotch and join me in the outrageous.   Play your outrageous quilting names tonight and comment below.